![Pay Cat Logo New 2.png]](https://www.paycat.com.au/hs-fs/hubfs/Pay%20Cat%20Logo%20New%202.png?height=50&name=Pay%20Cat%20Logo%20New%202.png)
This article explains how a brand can be added against a partner account. To clarify, only users with partner access are able to create a brand.
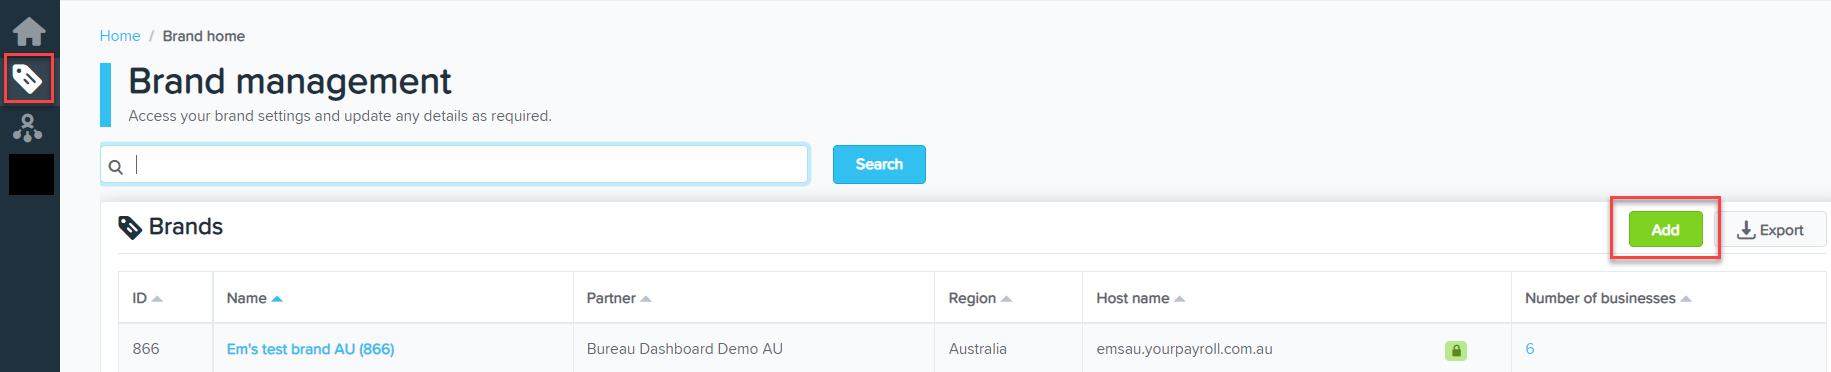
To create a new brand, log into the partner dashboard and click on the 'brand' tag on the left hand side. This will show all of the brands that you have access to. Then, to add a new brand, click the 'add' button on the right hand side:
This will direct you to the Brands screen. From this screen, click on the "Add" button to activate the wizard and complete the following steps:
Step 1: Brand Details
Take note of the following when completing this step:
- Billing name: Name that you want to appear on the invoice.
- Support Email: This email address will appear in support articles in lieu of support@yourpayroll.com.au. There may be instances where this field is already pre-populated with an address - this will be the case if you have entered billing details in your partner settings.
- Default time zone & Region: When you select a partner, we will set the region of the brand to the partner region.
- SMS notification sender name: The value entered here will be used as the 'From' display when employees receive sms via the platform. This is a compulsory field, even if you do not intend to switch on sms notifications, which is done at a business level.
- Tax Agent Electronic Lodgement: This relates to STP lodgements. More information on this can be found here.
- Host name: This is the URL specific to the brand that users will access to log in to the platform and their business(es) created under the brand. The default domain is *.yourpayroll.com.au, however you can arrange for a custom domain. If a custom domain has been organised, both the default and custom domain options will be available when setting up the host name. The value entered here will be checked for uniqueness. If the host name is already in use, you will not be able to proceed to the next step unless it is changed.
- Aliases: If you have organised your own custom domain, you can set this up as an alias that will ultimately point to the host name and allow the user to access the same business(es) whether they logged in using the host name or alias URL. Take note that the management of custom domains are the responsibility of the partner. You should ensure it is set up correctly so as not to affect your clients using the alias to log in to the platform and therefore being unable to access their business. Take note that this field is not compulsory.
Step 2: Billing
The information displayed will vary based on the payment option agreed upon.
Option a: Invoice partner directly for all brands
The information displayed on the screen will confirm payment will be made by the partner and reflect the partner billing details. An example is as follows:

Option b: Invoice brands individually
This option will require credit card details to be entered, however we do not require they be completed at this time. Rather, any user with brand or partner access can enter the billing details once the brand setup is complete. Instructions on adding credit card details can be accessed here.

Step 3: Plans & Features
This step will pre-populate the plan(s) that are set up against the partner's account and cannot be edited. You can, however, change the plan you want activated by default for any business created under the brand. To do this, simply click on the "Default" checkbox of the relevant plan: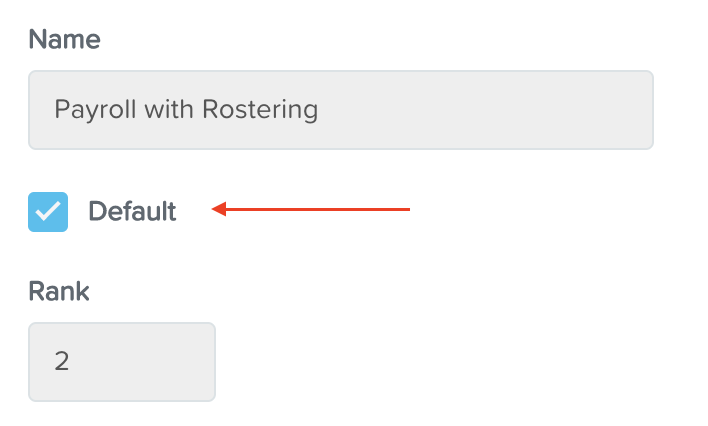
Step 4: Brand Management
This step allows you to customise certain components of the platform with your own branding. Details of what can be customised and the impact of each can be found here. Take note that you can always update the brand management settings of the brand at any stage.
Step 5: Security
This step allows you to enforce two-factor authentication immediately for all full access users that will be accessing any business under this brand. Further information on this setting can be found here. Take note that this setting can be turned on/off at any time.
Step 6: User Access
Enter the email address of each user that should have admin rights to this brand. This access allows users to manage the settings of the brand and have automatic full access rights to all businesses created under the brand. At least one user must be set up in this step.
Clicking on "Complete" will complete the brand set up where you can then commence creating businesses under the brand.
If you have any questions, you can contact us via support@yourpayroll.com.au.