![Pay Cat Logo New 2.png]](https://www.paycat.com.au/hs-fs/hubfs/Pay%20Cat%20Logo%20New%202.png?height=50&name=Pay%20Cat%20Logo%20New%202.png)
- Open the app store on the iPad and download the NoahFace app.

- Log into the NoahFace dashboard and navigate to the Access Points tab.

- Select Add access point
- Enter a Name for the iPad, select the relevant Access point type and select which Site the iPad will be at. You can also enter an ID for the iPad under the Identifier field, however this isn't mandatory. If the device will be using a thermal sensor, enter the sensor's ID (starting with cts000...) into the Sensor identifier field.
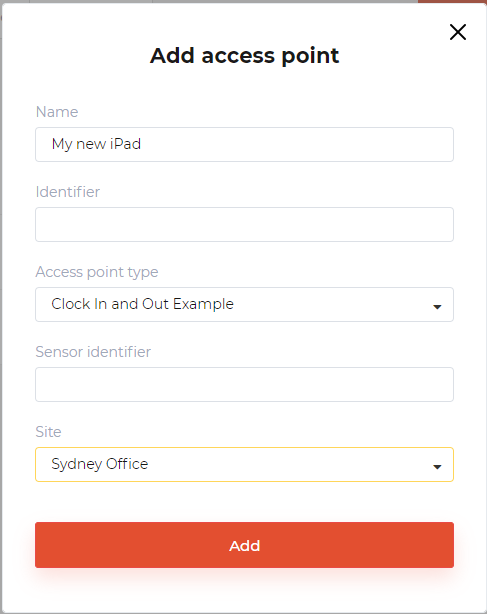
- Select Add.
- Either:
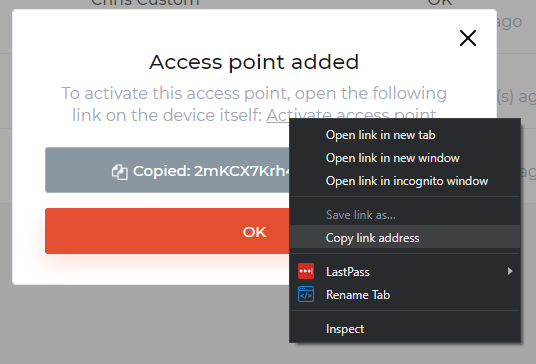
- Press Copy to clipboard to copy the new access point's activation code, then open the NoahFace app on the iPad, select Connect rather than standalone, and enter the code that is displayed.

To avoid typing the code, you can alternatively: - Right click on the link that says Activate access point and copy the link address, then open a QR code generator website and paste in the link address (starting with noahface://activate?...). Use the Camera app on the iPad to open the link from the QR code, which will activate NoahFace.
- Press Copy to clipboard to copy the new access point's activation code, then open the NoahFace app on the iPad, select Connect rather than standalone, and enter the code that is displayed.
- If you aren't using the default All Access rule in NoahFace (under the Rules tab), add the access point to the relevant access rule.
- NoahFace is now ready to use, but it's a good idea to also open the iPad's settings and apply the changes from this article to ensure the app can run without any disruptions.