![Pay Cat Logo New 2.png]](https://www.paycat.com.au/hs-fs/hubfs/Pay%20Cat%20Logo%20New%202.png?height=50&name=Pay%20Cat%20Logo%20New%202.png)
The employee roster allows you to customise the view with a few handy features.
You can group and sort shifts based on:
- Group by location or business: The 'location' setting will separate shifts based on individual locations within the business. The 'business' setting will show all shifts under the main 'parent' location.
- Sort by employee: (alphabetical) role (alphabetical based on role name), or start time
- Location
- Shift status
- Employee
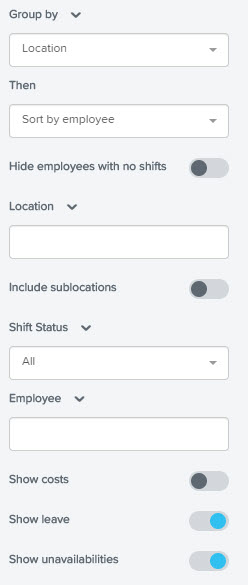
- You can select to show/not show:
- Employees with no shifts
- Sub locations
- Costs
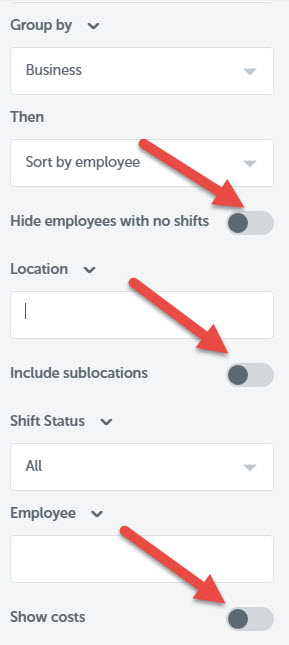
Simply click on the toggle button to turn this feature on/off
In addition, you can also save filters for later so that you can quickly switch between different views of shifts within your business.
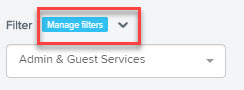
You can create a new filter for shifts by following these steps:
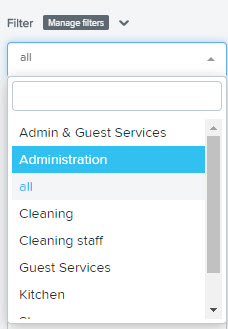
- In the employee roster screen, on the left hand side, click on "manage filters":
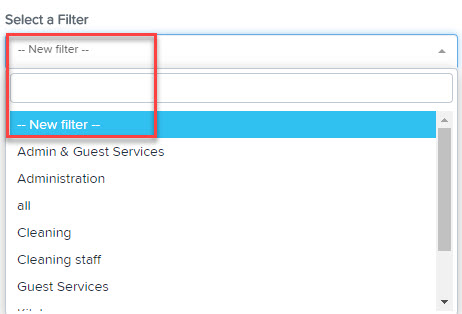
- From here a dialog box will pop up. Select "new filter" from the drop down box:
3. You are able to give the filter a name and define it using the following criteria:
- Grouping by locations or business (including the option to include sub locations and ability to select certain locations)
- Sorting by employee, role, or start time
- Hide employees with no shifts
- Shift Status
- Employees
- Roles
This screen also allows you to choose that particular filter as your default.
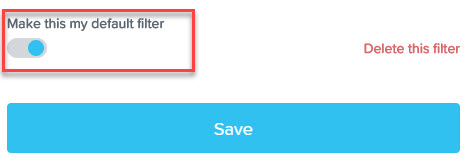
4. Click the "Save Filter" button on the bottom right corner
Your filter will now be saved and show up in the list of filters available. Clicking on a filter in the list will automatically apply that filter to the employee roster.
If you have any questions or feedback, please let us know via support@yourpayroll.com.au